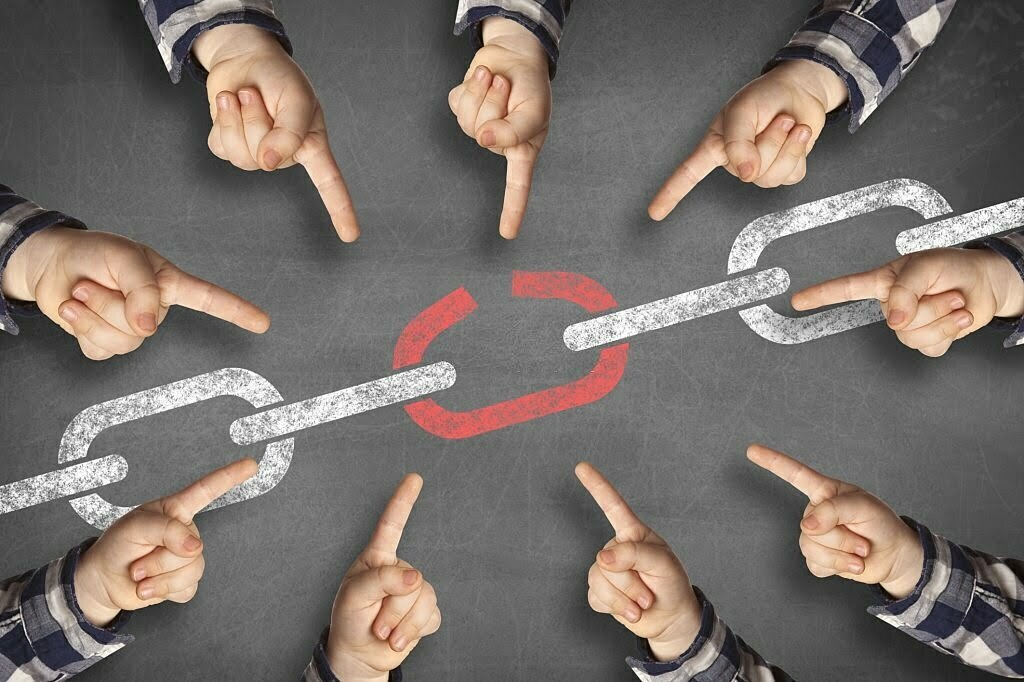
Broken links can be a real headache for both your website visitors and your SEO rankings. Imagine clicking on a link, only to land on a frustrating “404 Error” page. Not a great experience, right? But don’t worry! Fixing broken links on your WordPress site is easier than you think.
In this fun and simple guide, I’ll show you how to redirect broken links in WordPress to ensure your visitors never hit a dead end—and to help boost your site’s SEO.
Table of Contents
ToggleWhy Should You Fix Broken Links? 🤔
Broken links, also known as dead links, can hurt your website in a few key ways:
- Bad User Experience: Visitors may leave your site if they hit broken links, reducing engagement.
- SEO Penalties: Search engines like Google don’t like broken links. They might lower your site’s ranking if too many are found.
- Loss of Credibility: A website full of errors can seem unprofessional.
That’s why it’s crucial to fix them! And the easiest way is to redirect them to a working page. Here’s how.
Step 1: Identify Broken Links 🔍
Before you can fix broken links, you need to find them! Fortunately, there are great tools for this:
- Broken Link Checker Plugin: This WordPress plugin scans your site and finds broken links for you.
- Google Search Console: Google will notify you of any crawl errors (like 404s) under the “Coverage” section.
- Online Tools: Websites like Dead Link Checker allow you to scan for broken links.
Once you’ve found the broken links, make a list of all URLs that need to be fixed or redirected.
Step 2: Install a Redirection Plugin 🛠️
Now that you know which links are broken, the best way to fix them is to redirect them to another relevant page. To do this in WordPress, you’ll need a redirection plugin. Some popular options are:
- Redirection (free plugin)
- 301 Redirects
- Rank Math SEO (includes redirection functionality)
For this guide, we’ll use the Redirection plugin, which is free and easy to set up.
Step 3: Set Up Your Redirects 🔄
Follow these steps to redirect broken links using the Redirection plugin:
- Install and Activate the Plugin: In your WordPress dashboard, go to Plugins > Add New, search for “Redirection,” and install it.
- Go to the Redirection Settings: After activating the plugin, navigate to Tools > Redirection.
- Add a New Redirect:
- In the “Source URL” field, enter the broken link (the one that no longer works).
- In the “Target URL” field, enter the new URL where you want the user to be redirected. Make sure it’s relevant to the original content.
- Hit Add Redirect: And you’re done! The plugin will now automatically redirect users from the broken link to the new one.
Step 4: Test Your Redirects ✔️
Always make sure your redirects are working! To test them:
- Open an incognito window in your browser.
- Paste the broken URL.
- If the redirect is working properly, you’ll land on the new page you specified.
Step 5: Stay Proactive 🛡️
Broken links can sneak up on you over time as you change or delete pages. To stay on top of things:
- Set up automatic scans with the Broken Link Checker plugin.
- Periodically check Google Search Console for 404 errors.
- Add new redirects when necessary.
Conclusion
Redirecting broken links in WordPress is a simple but effective way to maintain a high-quality website. It improves user experience, prevents SEO penalties, and keeps your site running smoothly. With the help of the Redirection plugin, you can easily fix any broken links and redirect visitors to the right place!
Need help optimizing your website or managing redirects? Contact Craftwebx web design agency for expert website design and development services. We’re here to keep your site running smoothly and efficiently!